Ever wonder how to make hard kombucha (i.e. kombucha with more alcohol in it)? We’re breaking down the basics to alcoholic kombucha. It’s easier than you would think!

The basics of hard kombucha
Kombucha naturally contains some alcohol (about 0.5%). This is due to the reaction between the naturally occurring yeast in the kombucha, which produces trace amounts of ethanol (alcohol).
Typical kombucha yeast strains do not produce much alcohol on their own, so what do you do if you want to increase the amount of alcohol in your kombucha? Add a different kind of yeast!
By adding a different strain of yeast, such as champagne yeast, to your kombucha, you can make a hard kombucha beverage with a higher ABV (alcohol by volume), around 5%!
After much experimentation (and years of brewing non-alcoholic kombucha to help guide me), I’ve finally landed on the method of brewing hard kombucha that’s both easy and reliable. Let’s brew!
Main Ingredients & Supplies needed for alcoholic kombucha
Kombucha from a first fermentation
First up, you’ll need some kombucha! Take your batch of kombucha straight from the first fermentation to make hard buch. (Here’s how to make kombucha in the first fermentation.) You can use kombucha made from green or black tea here.
Yeast
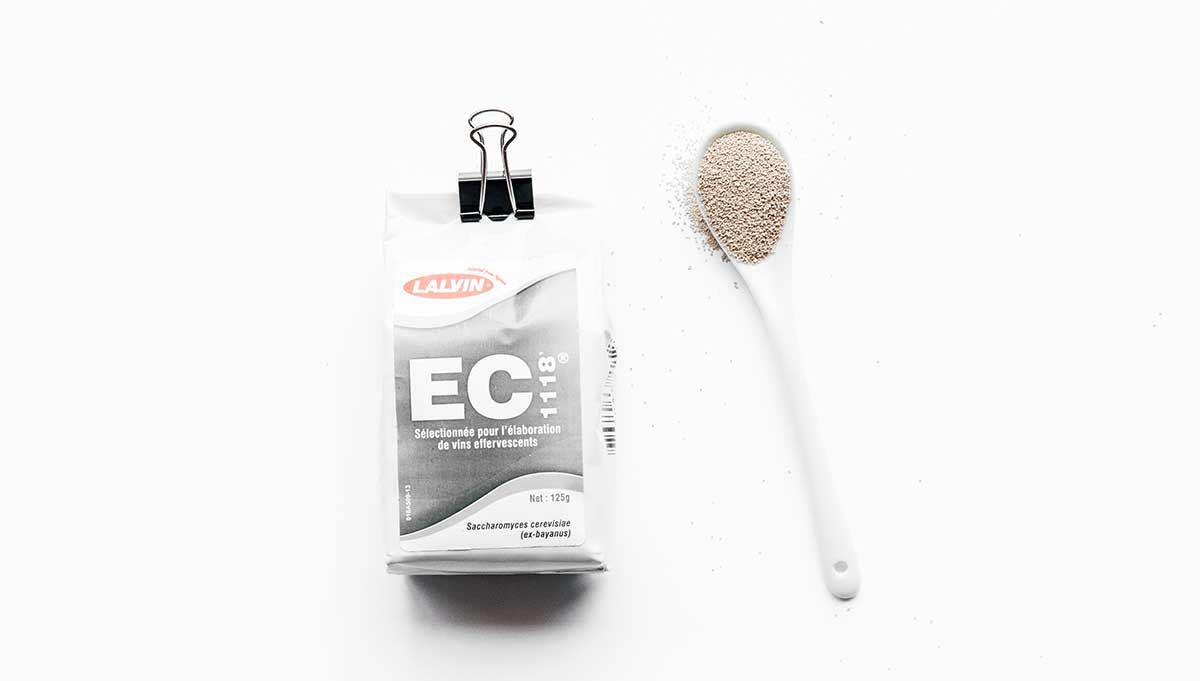
Adding an additional strain of yeast (different from the kombucha yeast) will help drive up the alcohol content of your kombucha. The type of yeast you choose to use will impact the finished flavor. Some options include:
- Champagne yeast (like this EC-1118 dry wine yeast), which gives a distinctly champagne flavor to your hard kombucha
- Ale yeast (like this SafAle US-05), which has a more neutral flavor
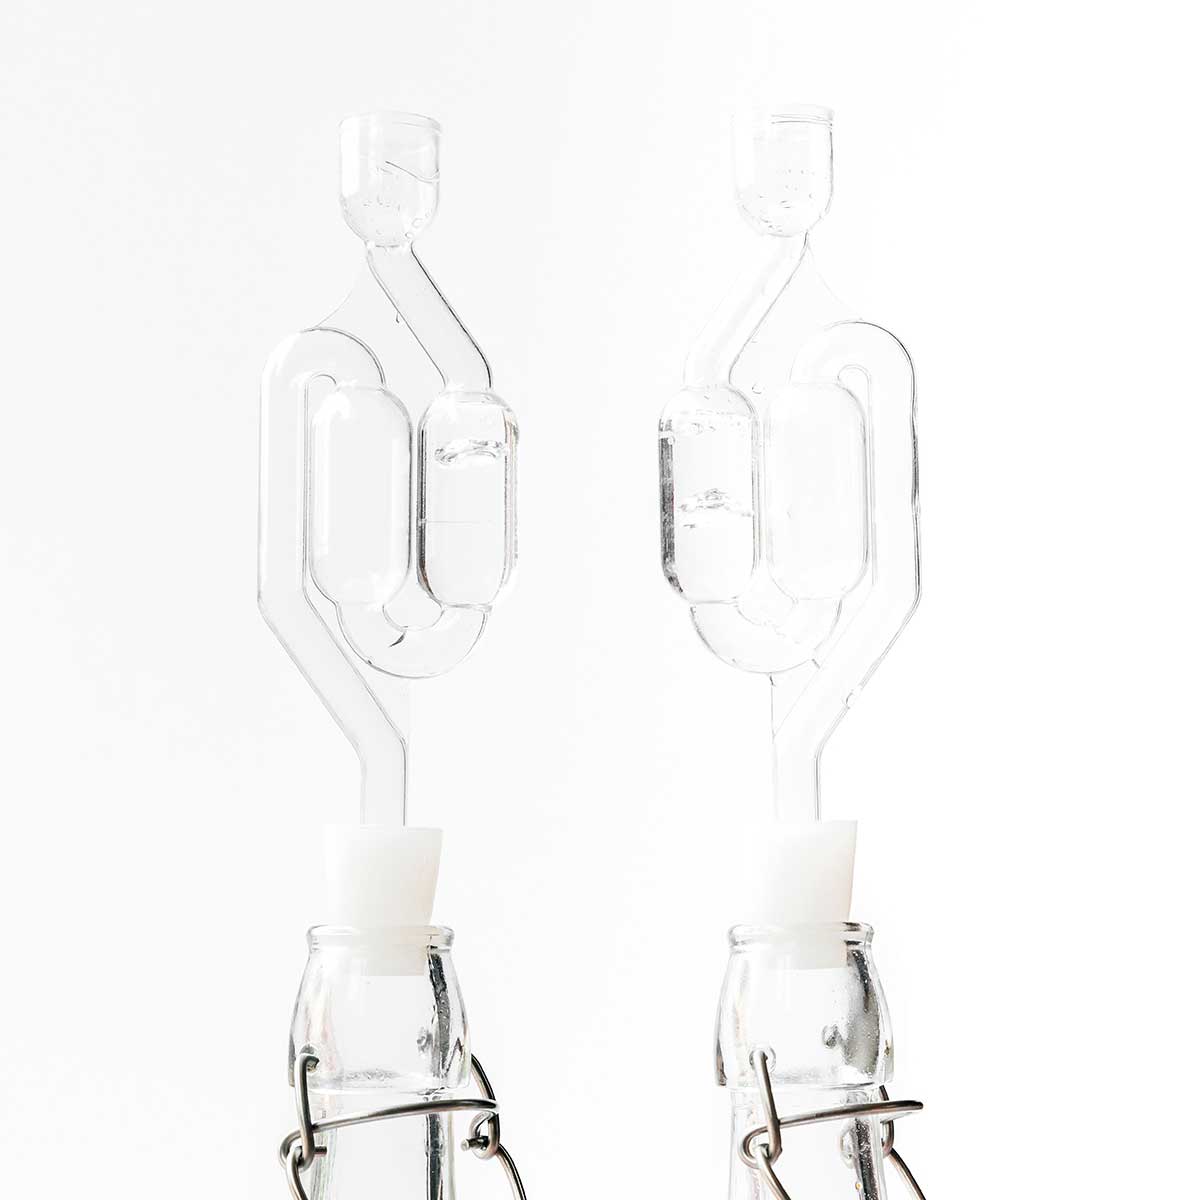
Airlock
The final extra piece of gear you’ll need to brew hard kombucha are airlocks. These effectively let carbonation escape without letting oxygen in.
“But doesn’t kombucha need oxygen?” Good question! When making kombucha in the first fermentation, the bacteria need oxygen to ferment properly. But once the kombucha is finished and you’re ready to booze it up, you’ll want to prevent oxygen from getting to the bacteria so that the bacteria don’t eat the alcohol you’re making! (More on the relationship between bacteria and alcohol in kombucha here.)
A lid won’t work here because you need to allow for air to leave the bottle!
How to make hard kombucha
The process of making hard kombucha is a little different from making traditional kombucha in that we’re adding an extra step in the middle. It goes something like this!
- 1st Fermentation: Make the kombucha (6 to 10 days). This is when you turn sweet tea into kombucha!
- 2nd Fermentation: Make it boozy by adding yeast and sugar, then let alcohol develop (7 to 14 days)
- 3rd Fermentation (optional): Add flavors and seal shut to carbonate (3 to 10 days)
Easy enough, right? Let’s dig into the details!
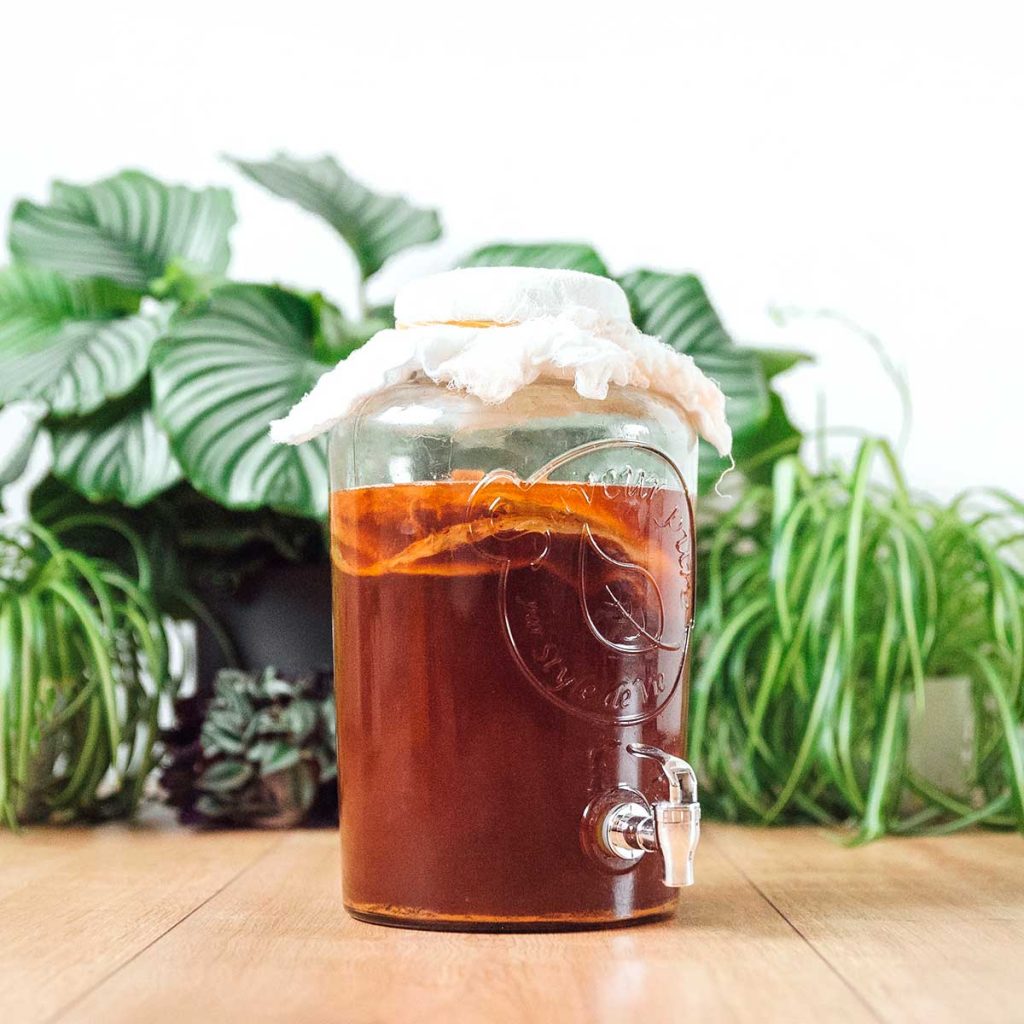
1st Fermentation: Make the kombucha
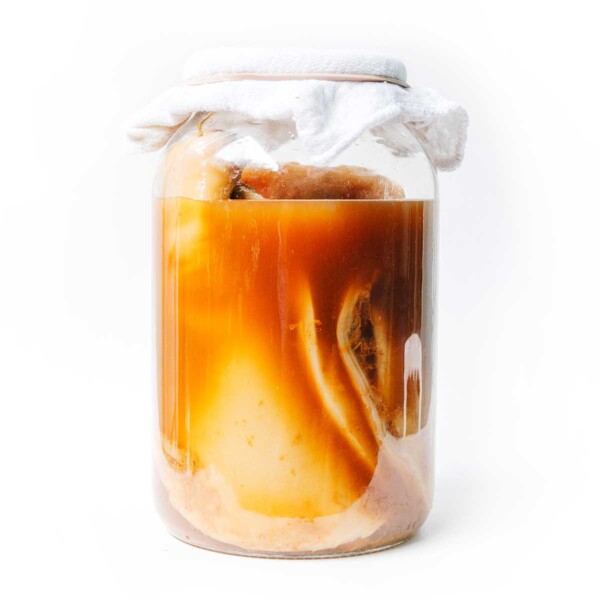
In the first step, you’re making kombucha just as usual. You’ll just put sweetened tea, starter kombucha, and a SCOBY (symbiotic culture of bacteria and yeast) into a large jar and let it ferment for 6 to 10 days until you reach your desired flavor (a mix of sweet and tart). Get instructions for the first fermentation here.
2nd Fermentation: Make it Boozy
In the second step, we’ll add a slurry of yeast, sugar, and water, which will increase the alcohol content of your brew. You’ll need:
- 1 cup hot water
- 1 cup white sugar
- 1 tsp yeast (champagne or ale yeast, see notes above)
- 1 gallon of kombucha (from first fermentation)
- Airlocks
1. Yeast Slurry: Stir together the hot water and sugar until sugar is dissolved. Let it cool to lukewarm, then stir in yeast. Allow the yeast to activate for 5 minutes, until bubbles form and the yeast is frothy.
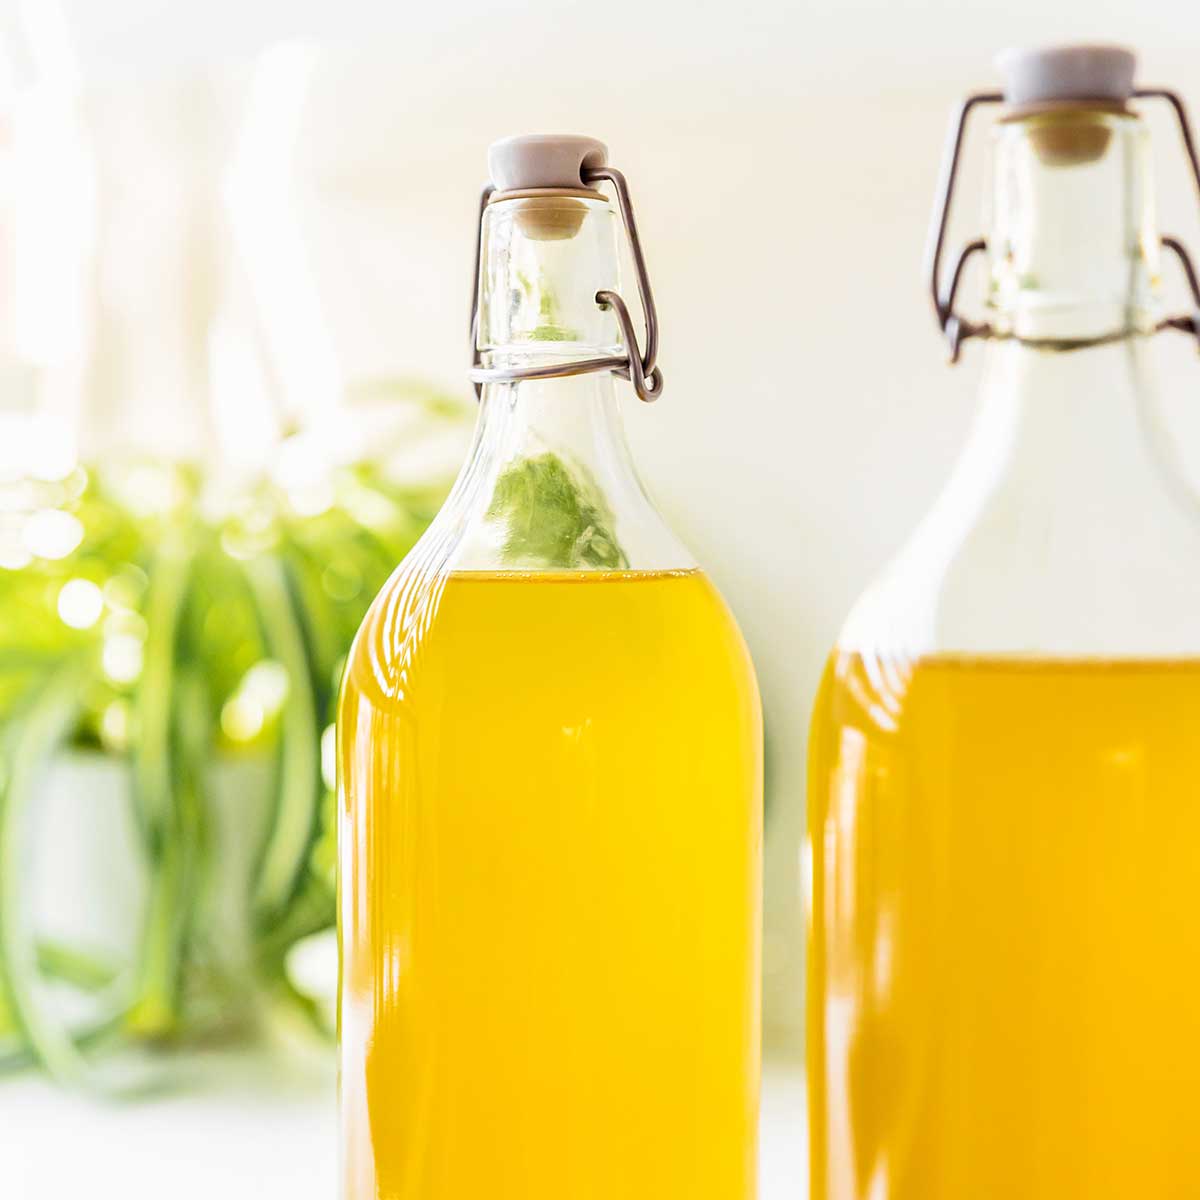
2. Bottle: Meanwhile, transfer kombucha to bottles or a growler (or any vessel with an opening that will fit your airlocks. Portion yeast slurry equally into each bottle of kombucha.
3. Airlock: Fill airlocks with water (to the designated line – you may need to read the instructions for your particular airlocks). Place airlocks onto each bottle.
4. Ferment: Set bottles somewhere dark and room temperature, and let ferment for 7 to 14 days. It’s ready when the flavor is somewhat dry and boozy! If you’re not moving on to the next step (adding flavor), seal the bottles shut and transfer to the fridge to stop the fermentation process.
“I’ve made it and it’s WONDERFUL!
I was wondering what you needed to do to raise the alcohol content. More Yeast? More sugar?”
3rd FERMENTATION: Add flavor
In this final (and optional) step, you can add flavors to give your hard kombucha a fun taste. This is the equivalent of the “second fermentation” in traditional kombucha brewing. You’ll just add whatever flavors you want to your bottle (like pureed fruit, fruit juice, ginger, herbs, or spices), then seal it shut. Let sit for 3 to 10 days, until bubbly and carbonated. Transfer bottles to the fridge to stop the fermentation process. Check out all of our flavor recipes here!
How much alcohol is in my hard kombucha?
The amount of alcohol in your finished hard kombucha will depend on how much sugar you added in the 2nd fermentation. Typically each 1 cup of sugar will give you about 4% ABV. Increasing this ratio and adding more sugar will result in a higher alcohol level.

How To Make Hard Kombucha
Ingredients
- 1 cup hot water
- 1 cup white sugar
- 1 tsp champagne or ale yeast
- 1 gallon unflavored kombucha, from a first fermentation
Instructions
- Yeast Slurry: Stir together the hot water and sugar until sugar is dissolved. Let it cool to lukewarm, then stir in yeast. Allow the yeast to activate for 5 minutes, until bubbles form and the yeast is frothy.
- Bottle: Meanwhile, transfer kombucha to bottles or a growler (or any vessel with an opening that will fit your airlocks. Portion yeast slurry equally into each bottle of kombucha.
- Airlock: Fill airlocks with water (to the designated line – you may need to read the instructions for your particular airlocks). Place airlocks onto each bottle.
- Ferment: Set bottles somewhere dark and room temperature, and let ferment for 7 to 14 days. It’s ready when the flavor is somewhat dry and boozy! If you’re not moving on to the next step (adding flavor), seal the bottles shut and transfer to the fridge to stop the fermentation process.
- Flavor (optional): At this point you can flavor your bottles however you want! See our favorite kombucha flavors here.

What if you leave the kombucha to sit for longer? Will it get more or less alcoholic?
It will become more alcoholic the longer is ferments.
I also brew beer and have 5 gallon carboys that are fitted with air locks for beer wort fermentation. Do you think pouring all my first fermentation tea into one big vat ( I continuously brew about 5 gallons of kombucha in 4 containers) will still work?
I haven’t tried this so I can’t say for sure, but I think it would work! Would love to hear how it goes.
Shouldn’t we strain the second ferment through strainers or filters to remove the spent yeast/particulate? Is there a reason you wouldnt?
You can, but it’s not necessary! It’s more of an appearance thing than any.
I just finished brewing plum wine that is from 4-5 years ago. Now I have some plums from the plum wine left. I’m thinking if this is a good source of “yeast and sugar” for the second fermentation. What you think?
Oh so cool! I honestly have no idea if you could use those, but I’d say it’s worth trying out!
Hello
I noticed growth in my second ferm . I’m used a growler , and added my wine yeast . But on day 2 I noticed growth – almost Scoby like. Is this normal ?
Yep, that’s normal! SCOBYs are a natural biproduct of the fermentation.
Hi ,
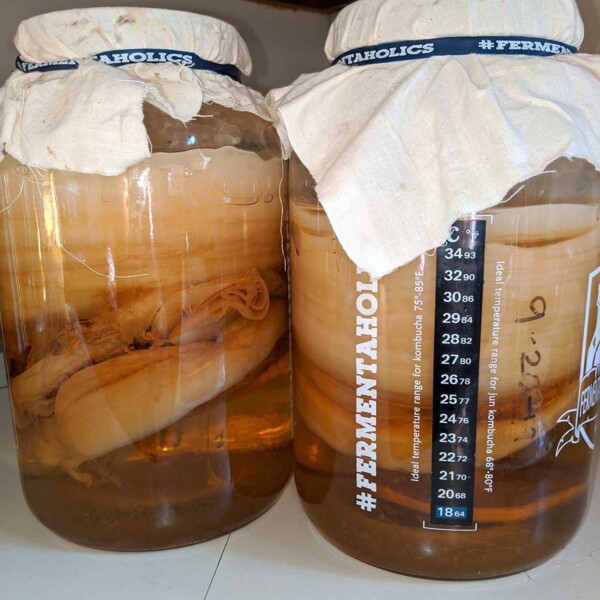
Do you have tips , tricks on what a good Scoby looks like ? Color, thickness ?
Approximately 1/4” and thicker, from what I understand. Colors seem to vary quite a bit, tho mine have been tan-yellowish with other color variations. Research “kombucha/ SCOBY mold” galleries online. I’m new at it, so still trying to differentiate between mold and a healthy SCOBY! Not easy at first. Lots of variations of healthy SCOBY’s out there.
Hi Sarah, thanks so much for this great information! For the second fermentation stage, can I use smaller ratios of water, sugar, and yeast if I am making a smaller batch of kombucha (e.g. 1 litre as opposed to 1 gallon)? Thanks!
Yep! Just keep the ratios the same 😀
Great instructions. I’m trying to take short cuts , and make a hard Kvass recipe using many components of your recipe . I plan to use bread as my “scoby” .
What are your thoughts ?
I’ve never tried making Kvass so I really can’t say for sure. Looks like there are w few good guides online about it though! You may want to follow a guide specific to Kvass though, because I think kombucha is pretty different.
Just leave the kvass to ferment alone..dont need the scoby…after2 weeks itll knock your socks off. Burp daily and only full the bottle 3/4. If youre using glass bottles for f2 only use beer bottles and have a plastic one about the same size as a pressure tester (if u dont burp daily) if plastic bottle hard you know your kvass will be super/dangerously fizzy. I do f2 in plastic soda bottles 3/4 full and burp daily. Unless you and your room want to wear it whenever you open it..burp daily.brcame alcoholic in 2 weeks in fridge. Ive ordered a hydrometer from aliexpress so i can check alcohol content to be sure but its pretty strong. Hth
If you shred the beets, you WILL make alcohol…fyi????
Thank you!!
Thank you so much for sharing all this information! I usually use pureed fruit for my regular kombucha and add it to the gallon jug for the second fermentation. For hard kombucha, if I use the gallon jug (with an airlock) for the second fermentation but transfer the liquid into airtight bottles for the 3rd fermentation, how much pureed fruit would you use in each individual bottle (11oz bottles)? Thank you!
Probably about 1 or 2 Tbsp of puree! 😀
Thank you for this! I just let my kombucha ferment for 11 days and it has a nice, dry flavor! I did have a small SCOBY start to grow in my hard brew. Is this normal? Thanks!
Yep that’s normal, just a natural product of fermentation! 😀