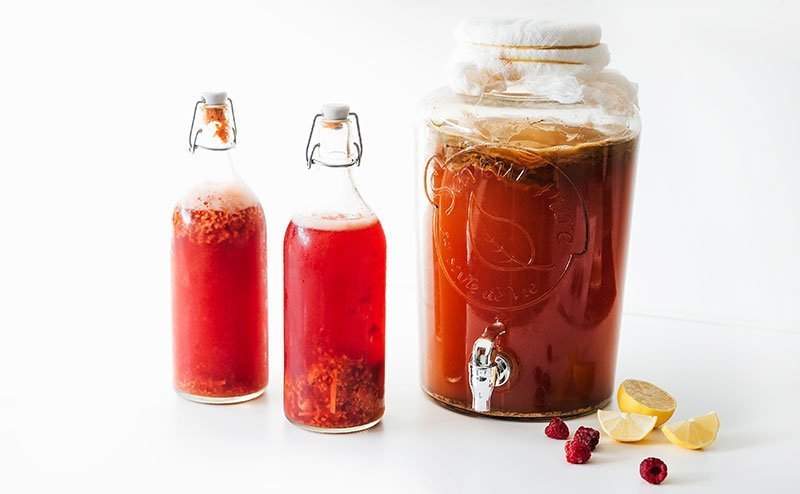
Ever wondered how kombucha – the deliciously fizzy fermented tea – is made? We’re breaking down the basics of how to make kombucha, from start to finish! No fancy equipment or ingredients needed.
Curious how to make kombucha, the gut-loving healthy fermented tea? Tired of paying $5 per bottle when you could be making it at home for a fraction of the price? Let’s brew!
Making homemade kombucha has three main steps (click the links below to jump around the post):
- Make SCOBY (1 to 4 weeks) – make the “mother”
- First Fermentation (6 to 10 days) – make the actual kombucha tea
- Second Fermentation (3 to 10 days) – carbonate the kombucha tea

This post contains affiliate links, and I may earn from qualifying purchases.

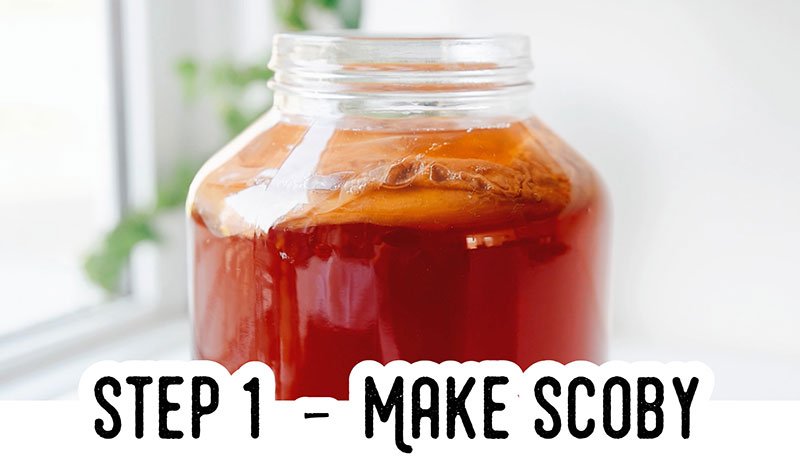
How to make a kombucha SCOBY
The SCOBY (Symbiotic Culture Of Bacteria and Yeast) is a pellicle that forms on top of the brew. The SCOBY is the “mother” that kickstarts each batch while also protecting the kombucha from contaminants like dust and debris. While you can buy a ready-made SCOBY (online or even in Facebook groups), it’s easy to make it yourself!
Ingredients to make a SCOBY
- 7 cups (1.6 L) water (tap water should be fine)
- ½ cup (100 g) white sugar (sugars you can use in kombucha)
- 4 bags black tea (teas you can use in kombucha)
- 1 cup (240 mL) unpasteurized, unflavored store-bought kombucha
Supplies needed to make a SCOBY
- A large glass or ceramic container (should hold at least 1 gallon (3.7 L))
- Tightly woven cloth (coffee filters, paper towels, napkins, cheese cloth)
- Rubberbands
- Large pot for boiling water
How to make a SCOBY
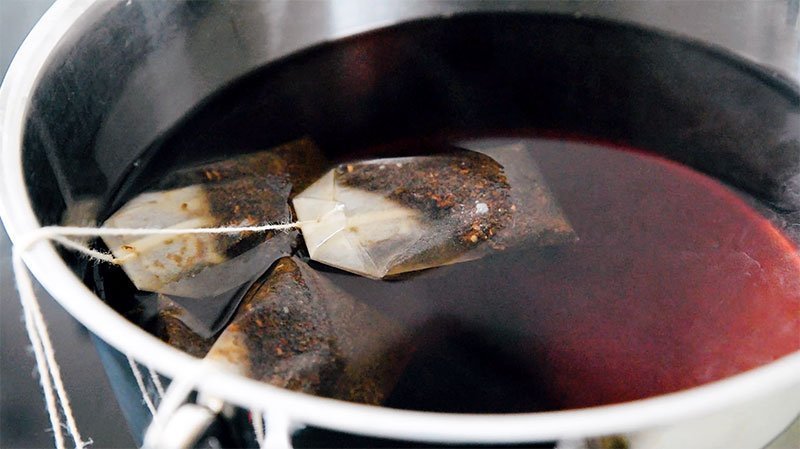
1. Make Sweet Tea: Bring water to a boil. Remove from heat and dissolve sugar into it. Add the tea bags and allow them to steep for at least 20 minutes (or until tea has cooled).
2. Cool to Room Temp: Allow hot tea to cool to room temperature. Quicken this process by boiling just 2 cups of water, dissolving the sugar, and steeping the tea for 20 minutes. Then add remaining 5 cups of cold water, which will bring the mixture to room temperature faster. Test that the tea is room temperature by drawing out some tea with a paper straw, using your finger to keep the kombucha in the straw.
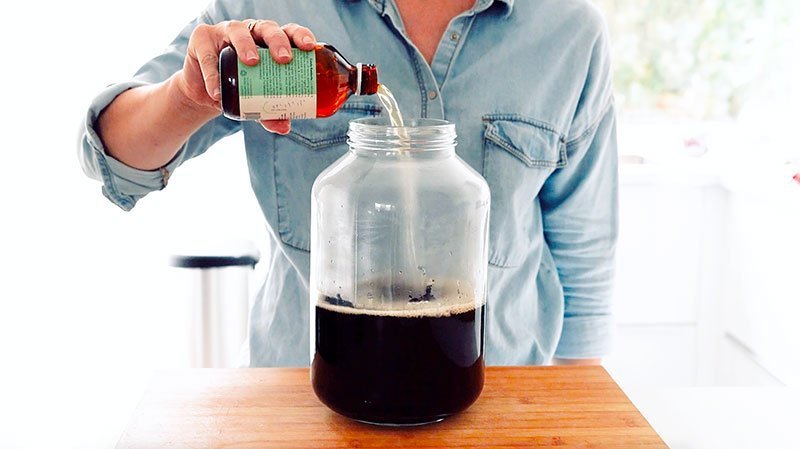
3. Add Starter: Pour the sweetened tea into your jar, then pour store-bought kombucha in, making sure to include any gunkies that may be at the bottom of the kombucha bottle. These are great for kickstarting the fermentation!
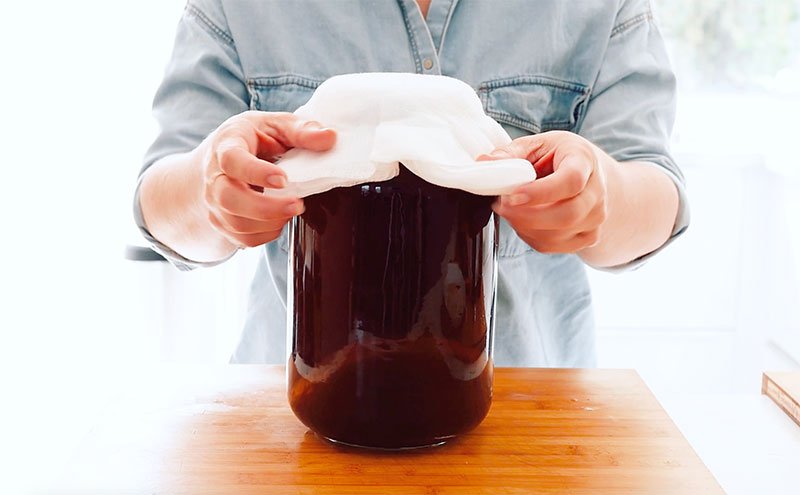
4. Cover: Cover with a few layers of the tightly woven cloth to keep out bugs and debris, securing with a rubber band.
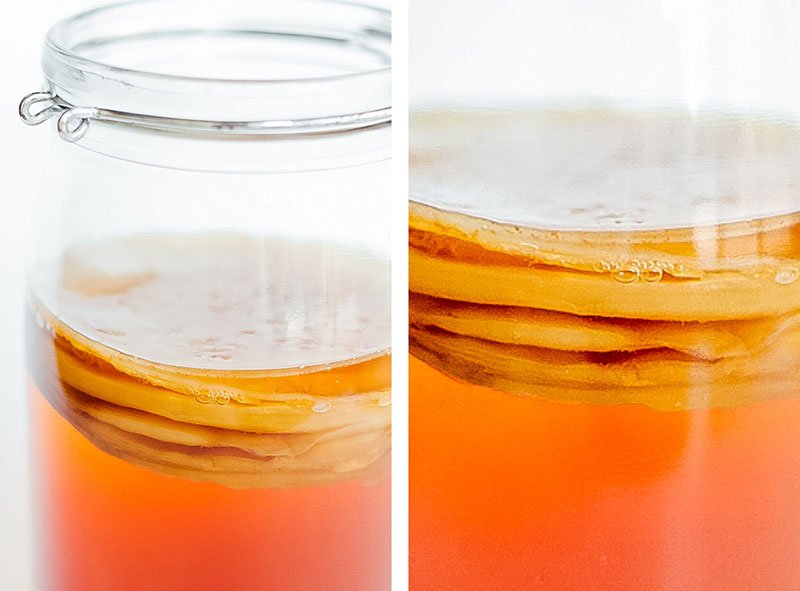
5. Ferment: Set somewhere dark, still, and room temperature (70-75 degrees F, 21-24 C) for 1 to 4 weeks, until a ¼ inch (½ cm) SCOBY has formed.
6. Go to 1st Fermentation: You now have a SCOBY! The SCOBY should live and grow for years if treated with love. Allow the SCOBY to remain in this liquid until you are ready to use the SCOBY for the next step, the 1st fermentation.
Things to note when making your kombucha SCOBY
- No decaf: The SCOBY doesn’t like decaf tea and will not grow as well if fed it.
- Only black tea: The SCOBY doesn’t grow well with green or fruity teas. Once your SCOBY is larger you can use green tea, but for now stick with black.
- No honey: Honey can contain botulism bacteria that, when grown exponentially as bacteria and yeast tend to do in kombucha, can be dangerous. You can use honey in the second fermentation, once there are a higher number of good bacteria to fight off the bad, but for now, stick to sugar.


The First Fermentation
So you’ve got a SCOBY and you’re ready to get this komboo-choo train rollin’. The first fermentation is where you actually make the kombucha that you’ll be drinking!
Ingredients for the first fermentation
- 14 cups (3.3 L) water (tap water should be fine)
- 1 cup (200 g) white sugar
- 8 bags black or green tea
- 2 cups (480 mL) unflavored kombucha (either from a previous batch or unpasteurized, unflavored store bought kombucha)
- 1 SCOBY
Supplies for the first fermentation
- A large glass or ceramic container (should hold at least 1 gallon (3.7 L))
- Tightly woven cloth (coffee filters, paper towels, napkins, cheesecloth)
- Rubberbands
- Large pot for boiling water
First fermentation instructions
1. Make Sweet Tea: Bring water to a boil. Remove from heat and dissolve sugar into it. Add the tea bags and allow them to steep for at least 20 minutes (or until tea has cooled).
2. Cool to Room Temp: Allow hot tea to cool to room temperature. Quicken this process by boiling just 4 cups of water, dissolving the sugar, and steeping the tea for 20 minutes. Then add remaining 10 cups of cold water, which will bring the mixture to room temperature faster. Test that the tea is room temperature by drawing out some tea with a paper straw, using your finger to keep the kombucha in the straw. (Don’t be impatient here – hot water will kill your SCOBY).
3. Empty the Jar: With very clean hands, transfer SCOBY to an equally clean plate. If this is your first round of kombucha, reserve 2 cups of the liquid the SCOBY was growing in (that can be your starter kombucha), discarding the rest of the liquid (it is very acidic and not nice for drinking).
4. Add Starter: Pour the sweetened tea into your jar, then pour in unflavored starter kombucha. With clean hands, place SCOBY into jar.
5. Cover: Cover with a few layers of the tightly woven cloth and secure with a rubber band.
6. Ferment: Set the jar somewhere dark, still, and room temperature (70-75 degrees F, 21-24 C) for 6 to 10 days. Begin tasting at about 6 days by gently drawing out some of the tea with a paper straw (using your finger to hold the tea in the straw – don’t use your mouth). It should be mildly sweet and slightly vinegary. The warmer the air temperature, the faster the kombucha will ferment. The longer the tea ferments, the more sugar molecules will be eaten up, the less sweet it will be.
7. Go to 2nd Fermentation: Reserve 2 cups from this batch to use as starter kombucha for your next batch (just leave it in the jar with SCOBY). The rest can move into the second and final fermentation.
Things to note about the first fermentation
- Other teas can be used in this step! Feel free to experiment with green, white, oolong, or combinations of them. Fruit teas should be mixed with a few black tea bags to ensure the SCOBY gets what she needs to thrive.
- Big SCOBY? Once the SCOBY gets to be about an inch thick, peel off a few layers to create a second SCOBY (use it to create another batch or gift it to a friend!)

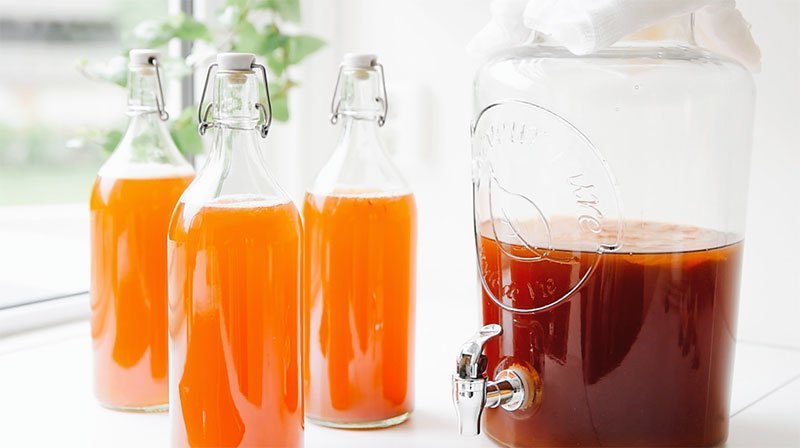
The second fermentation
The final and most fun step in the homemade kombucha making process! The second fermentation is where the real magic happens, flavoring and carbonating your kombucha into effervescent bliss.
Ingredients for the second fermentation
- Homemade kombucha from the first fermentation
- Sweetener (fruit, honey, or sugar). While there are many flavor combinations here on Brew Buch, we generally work with a ratio of 1 cup kombucha to:
- 1 to 2 Tbsp mashed fruit or fruit juice
- 1 to 2 tsp honey or sugar
Supplies for the second fermentation
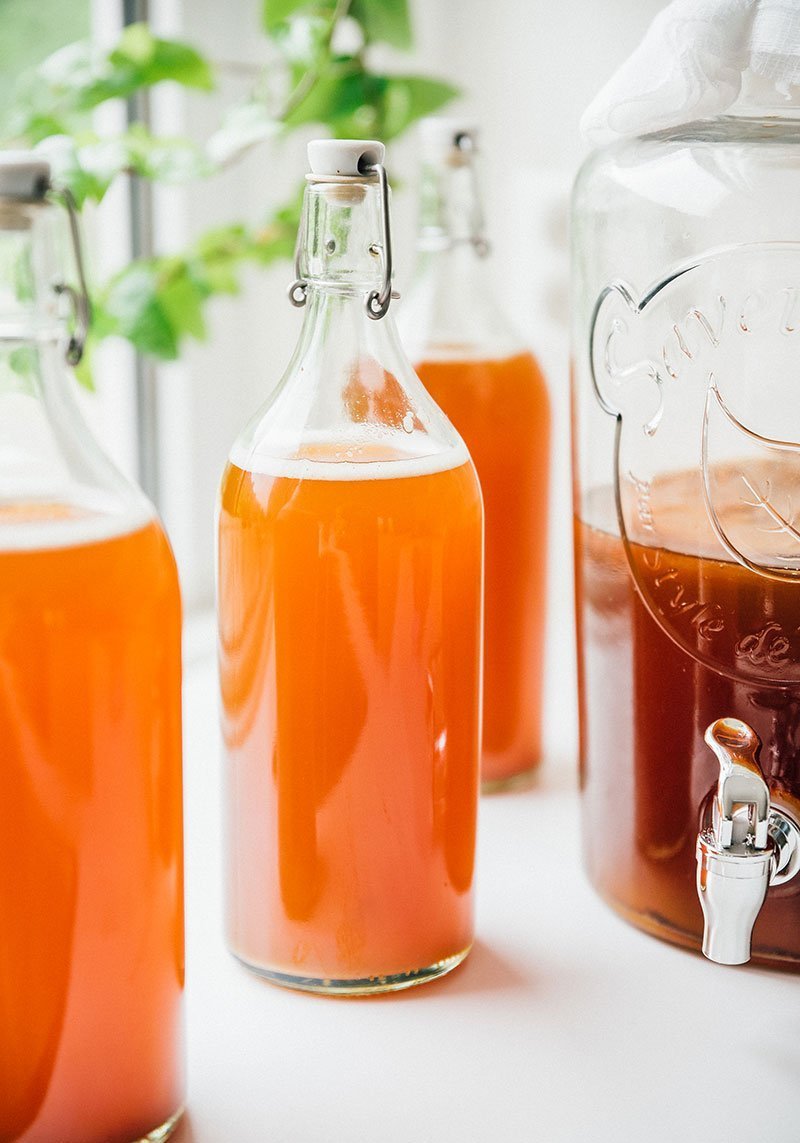
You just need a few flip top fermentation bottles (my favorite bottles here) for the second fermentation. These bottles are meant for fermentation and have an airtight seal, which will prevent carbonation from escaping. If you don’t have these, canning jars will do an alright job, though they aren’t truly airtight.
Second fermentation instructions
1. Bottle: Funnel kombucha into bottles, leaving about 1 1/2 inches at the top (3.8 cm).
2. Sweeten: Add your chosen sweetener and seal tightly.
3. Ferment: Let ferment somewhere dark and room temperature for 3 to 10 days.
4. Serve: If desired, strain out fruit before serving. Place in fridge to slow the carbonation process and to chill before serving.
Things to note about the second fermentation
- Blast Zone: Your jars can explode if the pressure becomes too high! “Burp” them by opening each to release some pressure, then place them in the refrigerator to slow fermentation. I also highly recommend these Carbo-Caps, which prevent explosions while carbonating your kombucha perfectly.
- Faster Fermentation: Be aware that the kombucha will ferment more quickly when it is warmer and when there is more sugar/fruit. It will ferment more slowly in the opposite conditions!
- No fizz? Check out our troubleshooting guide to flat kombucha here.